

Kitchens are the heart of the home. They are a place to gather and socialize. We prepare our food there. It should reflect us, but it should also be kept clean. People can be turned off by the poor condition of your kitchen.

CLEAN FROM THE TOP, DOWN TO THE BOTTOM
In Jeff Campbell’s book “Speed Cleaning”, (see Book Shop page) he recommends dusting upper areas so the dust settles down on the floor, where it will be vacuumed or swept up. Saves time.
REMOVE DRY DIRT AND COBWEBS
Dust surfaces, high places first.
- Remove any cobwebs
- Then wipe things to clean them with a lightly dampened microfiber cloth. Some things can be put into dishwasher.
- Use furniture polish and a dry cloth or slightly damp micro fiber cloth as desired
First sweep. dust and vacuum. It’s good to remove the dry dirt and hair before using liquids.
CLEANING THE SURFACES
STAINLESS STEEL
There are Stainless Steel Cleaners out there but I prefer to use Murphy’s Oil Soap. It leaves a film that looks good on your stainless steel surfaces and repels water.
When it comes to Stainless Steel elevators I prefer to use a spray of diluted Simple Green on a moistened microfiber cloth. Elevators tend to show fingerprints and the Simple Green does not leave a residue.
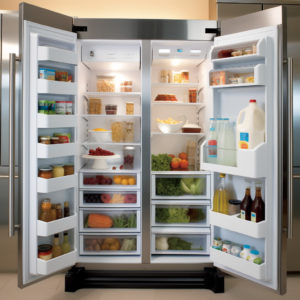
REFRIGERATOR CLEANING
Wipe out the inside of refrigerator quickly, front of shelves and door shelves,(schedule another time for a detail clean).
I like to use Scrubbing Bubbles foam for a thorough clean inside the refrigerator. Be sure to rinse it. (Dawn is recommended)
Remove shelves and items
- Remove drawer bins and contents
- Spray with cleaner of choice and wipe with sponge or use vegetable brush
- Rinse in kitchen sink or in bathtub
- Leave to drain
- Line drawer bins with paper towels
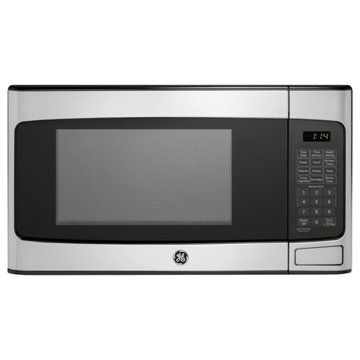
CLEANING A MICROWAVE
Microwaves are often messy with splatters of food. Soften the food first (steam it) This is how:
- Fill a mug with water
- Nuke it for 2 minutes
- Take it out and put a tea bag into the water – let steep
- Spray inside of microwave
- Wipe out with a no scratch sponge or microfiber cloth
- Sit down – put your feet up and drink your tea
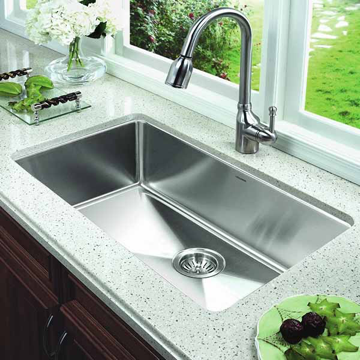
CLEANING THE SINK
Wash the kitchen sink last if you are going to dump the dirty bucket of water down it. ( I prefer to dump it in the toilet, less clean up). If you keep on top of things Windex or Green Works is all you need, though I now prefer Simple Green. I use a Chore Boy Stainless Scrubbie on stainless, it doesn’t scratch.
If you have “Lime build up” try some Kaboom. and an old toothbrush. Follow up with some Bon Ami if necessary, it will work fine in a Porcelain sink.
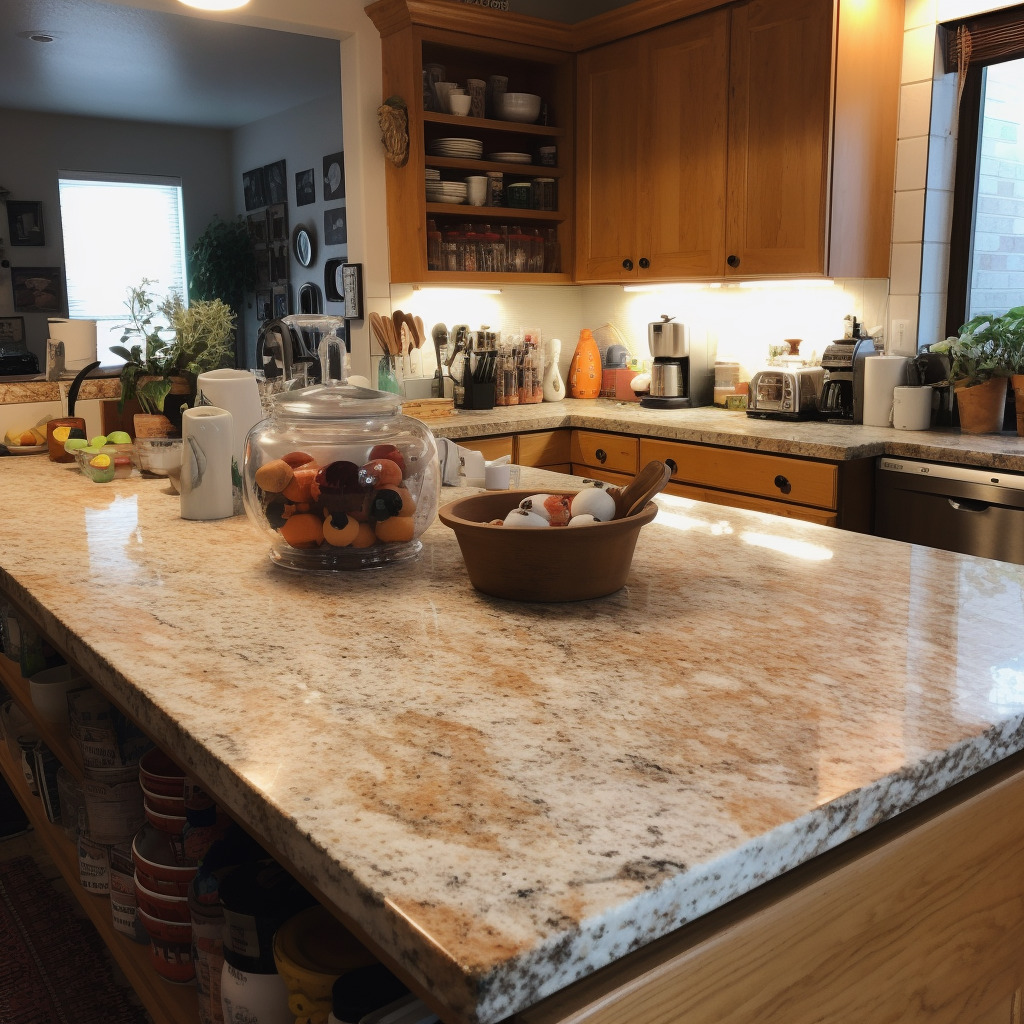
COUNTERS
Spray and wipe the stove, top, pans, and front. You can use Green Works or try Simple Green – my favorite – it comes concentrated. Use it diluted only slightly for very greasy jobs, or use Dawn Dish detergent. Many people keep Windex under their sinks for quick clean ups.
To clean kitchen counters effectively, follow these steps:
- Clear the counters: Remove any items, such as appliances, utensils, or decorations, from the counters to have a clear surface to work on.
- Wipe away crumbs and debris: Use a dry cloth or paper towel to remove loose crumbs and debris from the counters. You can also use a small handheld brush or a soft-bristle brush to sweep away any stubborn particles.
- Choose an appropriate cleaning solution: Select a cleaning solution that is safe for your specific countertop material. For most non-porous surfaces like laminate, quartz, or granite, a mixture of mild dish soap and warm water works well. For porous materials like marble, use a pH-neutral cleaner recommended for natural stone.
- Apply the cleaning solution: Dampen a clean cloth or sponge with the cleaning solution. Start from one end of the counter and work your way across, ensuring that the entire surface is covered.
- Scrub gently: Using the cloth or sponge, scrub the counters gently in circular motions, paying extra attention to any stained or sticky areas. Avoid using abrasive scrubbers or harsh chemicals, as they can damage the surface of the counters.
- Rinse and wipe dry: After scrubbing, rinse the cloth or sponge thoroughly and wring out any excess water. Wipe down the counters again with clean water to remove any soapy residue. Finally, use a dry cloth or towel to wipe the counters dry.
- Address stubborn stains: If you encounter stubborn stains that are not easily removed with the cleaning solution, you can try using a specialized countertop cleaner or a mixture of baking soda and water. Apply the paste to the stain, let it sit for a few minutes, and then gently scrub with a soft cloth or sponge.
- Maintain and protect: To keep your kitchen counters looking their best, it’s essential to practice regular maintenance. Clean up spills promptly, use cutting boards to protect the surface from scratches, and avoid placing hot pots or pans directly on the counters to prevent heat damage.
CABINETS
Regularly cleaning your cabinet doors will help maintain their appearance and prolong their lifespan. The frequency of cleaning will depend on factors such as cooking habits, grease buildup, and household traffic.
Clean/wipe down cabinets. It is a good idea to keep up with this because oils and dirt from hands can eat away a finish.
I like to use Green Works from Clorox. There is a stronger concentrate for tough jobs.
Also Pine Sol or Murphy’s oil soap works well to remove finger prints without harming the finish. If you neglected the cabinets too long you may find that the finish is no longer there, in worn spots, from the oils on your hands.
- Choose a suitable cleaning solution: The type of cleaning solution you use will depend on the material of your cabinet doors. For most types of cabinet doors, a mixture of mild dish soap and warm water is effective. However, if you have wooden or painted doors, check the manufacturer’s recommendations or use a cleaner specifically formulated for wood surfaces.
- Dilute the cleaning solution: Mix the mild dish soap with warm water in a bucket or spray bottle. Use a ratio of approximately 1 tablespoon of dish soap to 1 gallon of water. Adjust the quantities based on the size of your cleaning project.
- Dampen a clean cloth or sponge: Dip a clean cloth or sponge into the diluted cleaning solution. Wring out any excess liquid to avoid saturating the cabinet doors.
- Wipe the cabinet doors: Starting from the top, wipe the cabinet doors using the damp cloth or sponge. Work your way down, ensuring that you cover all areas, including the edges and corners. Apply gentle pressure to remove any dirt, grease, or fingerprints.
- Pay attention to stains and buildup: For stubborn stains or built-up grime, you may need to apply a bit more pressure or use a non-abrasive scrub brush or sponge. Be careful not to scratch or damage the surface of the doors, especially if they are made of wood or have a delicate finish.
- Rinse and dry: After cleaning, rinse the cloth or sponge with clean water and wipe down the cabinet doors to remove any soap residue. Then, use a dry cloth or towel to thoroughly dry the doors to prevent water spots or streaks.
- Polish or condition (if applicable): If you have wooden cabinet doors, you may want to apply a wood polish or conditioner to enhance their shine and protect the wood. Follow the instructions on the product label for application guidelines.

CLEANING THOSE DIFFICULT LOUVRED DOORS
Those Louvered doors or windows are a pain – all those little slats! Many times these surfaces are not even properly sanded. This makes it very difficult.
- Put towels down on floor and open doors
- Spray doors with Murphy’s Oil Soap diluted
- Lift the center louvre bar (if there is one) to reverse the angle of the slats, so all of the spray drips down the back
- After 5 minutes – drop the louvre bar back down
- Use tooth brush or dust brush to agitate corners & edges
- Use wet sponge and lightly scrub slats
- Rinse your sponge as needed
Maintain your doors by dusting with a dust pan brush weekly.
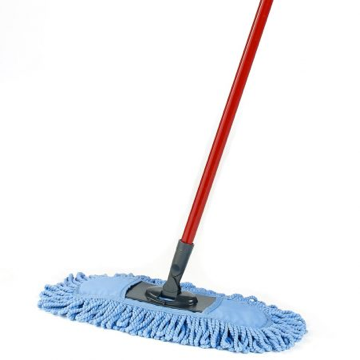
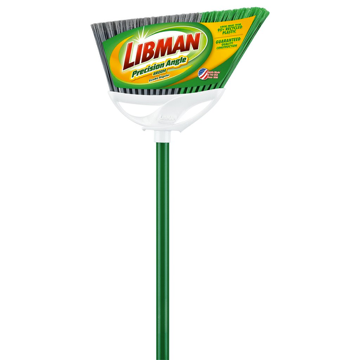
YOUR FLOORS
Remove Dirt First
Remember to remove dry dirt before you add liquid because dirt + liquid = MUD!
Use a dust mop, broom or vacuum.
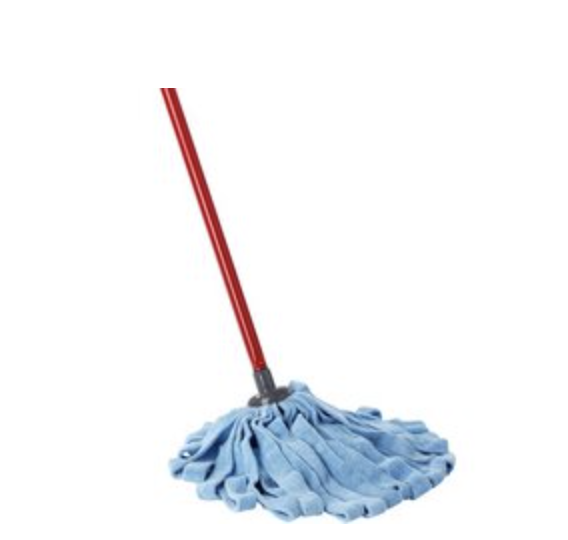
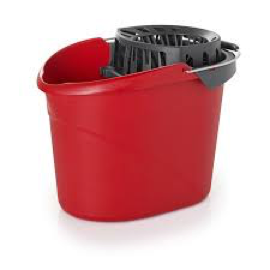
MY GOOD OL MOP
Yes I love this mop, O’Cedar Tuff Mop, for every room. Its made of strips of microfiber cloth. You can use the strainer bucket, or the regular bucket or the sink to hand squeeze and rinse the mop. Dump dirty mop water into the toilet.
I use a dash of Mr Clean and ammonia in a bucket of water and use a mop on vinyl and tile floors. I use Murphy’s or Bona on a wood floor
USING STEAMERS FOR CLEANING
If you are really concerned about germs – a good way to sanitize an area after you have cleaned, is to use a steamer. The steam kills everything. Think toilets!
There are some FLOOR steamers, one word of caution KEEP THEM MOVING! They CAN MELT some vinyl floors
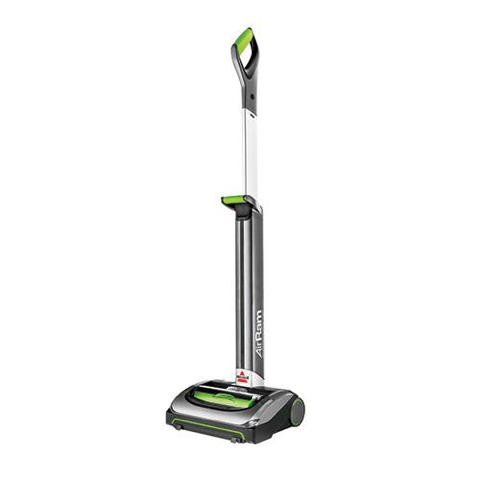
BISSELL FLOOR CLEANER
There are also many floor machines that look like a vacuum, but they will clean a floor if you don’t like to mop. These All-In-One machines can be quick and handy.
Vacuums will be discussed in a separate article.
Wipe 3 Times
A study showed that wiping 3 times removed more bacteria
Three Swipes Study